

Which auto-scrubber fits a 5,000 sq. ft. store?
Accessible area, passages, working time and care: compare compact, walk-behind and ride-on auto-scrubbers.
Read the guideThe methods
Learn to identify flooring, choose a cleaning method and recognize a damaged finish.
Find your surfaceGuides
Buying guides and questionnaire comparisons you can browse directly.
Accessible area, passages, working time and care: compare compact, walk-behind and ride-on auto-scrubbers.
Read the guideRoutine vacuuming, spot treatment and extraction: choose based on fibre, soil and drying time.
Read the guideManage entrances, remove grit and choose a floor-compatible method for winter deicing-salt marks.
Read the guideBrowse equipment by task, access and workload, along with the limits of each method.
All Good / Better / Best comparisonsStart with diagnosis, open the guide for your floor, then practise identifying why a job went wrong. Follow the instructions for your specific flooring.
Look for the invoice, a spare box or the manufacturer’s instructions. A wood-look floor may be vinyl or laminate. If you cannot confirm the material, use a gentle tool to pick up dry debris before doing any wet work.
Grit moves when dry. Grease smears on a cloth. A white mark may be salt, cleaner residue or damage to the finish. Look at seams and reflections, then test a small area with the gentlest approved method.
Record the product, dose, tool and dwell time. Isolate the work area. Use clean microfibre or a clean brush and recover the soil before it settles back onto the floor.
Compare the test area with an adjacent area under the same lighting. Look for haze, changes in sheen, stickiness or wet seams. Change one variable at a time and record the method you settle on.
A gentle clean with very little moisture
Confirm whether the floor is solid or engineered wood and identify the finish: lacquer, oil or wax. Water can reach the wood at joints and through worn finish.
Haze that improves in a clean-pad test may be residue. Scratches you can feel, exposed wood or distorted boards warrant assessment. Check the restoration instructions before applying a refresher.
Compare sheen in the dry test area and the surrounding floor. Joints should stay dry and the surface should feel even.
Manufacturer care instructions · Shaw Floors
A compatible cleaner at the right dose
Distinguish luxury vinyl plank or tile (LVP/LVT), sheet vinyl and commercial tile. Check the wear layer and find out whether the flooring calls for a maintenance coating.
If shoe marks persist, use the specified spot treatment. Check with the manufacturer before waxing or stripping, especially if the wear layer is already damaged.
Once dry, the original sheen should be visible and seams should be free of liquid. If stickiness returns, review dosing and pickup.
Manufacturer care instructions · Shaw Floors
Care for the tile and grout
Find out whether the tile is glazed, textured or porous and whether the grout is cement-based or epoxy. Adjacent natural stone changes the choice of chemicals.
Grout can look darker while wet. If it stays dark when dry, compare with a sheltered joint and look for cracks or recurring moisture. Identify any mineral deposit before selecting a targeted product.
Inspect dry grout and textured areas. Washing should remove the deposit while preserving sheen and leaving no sticky film.
Manufacturer care instructions · Shaw Floors
Pay close attention to moisture
Laminate typically has a decorative layer and a wood-fibre core. Check the exact model instructions even if the packaging says it is water-resistant.
A swollen seam, raised edge or peeling decorative layer after a spill points to flooring damage. Stop wet treatments and have the floor assessed.
The pattern and sheen should look even. Pass a dry cloth near seams to confirm no liquid has collected there.
Manufacturer care instructions · Shaw Floors
Find out whether the slab is bare, polished, sealed or coated with epoxy. On coated concrete, compatibility depends on the topmost finish.
An oily halo in porous concrete may be absorbed soil. If the finish fades or softens during the test, stop and check compatibility.
Inspect turning points, edges and squeegee lines when dry. Check for oily film and standing water before reopening.
Resinous floor maintenance · Sherwin-Williams
Identify the stone, its polish and any treatment. Marble, limestone and travertine are particularly sensitive to acids.
A dull patch after an acidic spill may be etching. Get an assessment before aggressive polishing or stain removal.
Compare reflections on the dry stone with an adjacent area. Stop if the test changes sheen or colour.
Stone care · Natural Stone Institute
Check the fibre, backing, dyes and approved method. For wool, delicate rugs or unknown materials, confirm the method before wetting.
A spot that returns may be wicking from the backing. An area that quickly resoils may contain detergent residue. Stop if dye transfers to the cloth or the fibre distorts.
Before reopening, check dryness, colour and stickiness. Inspect the spot again once fully dry.
Carpet care · Shaw Floors
Choose the head for your flooring, then check that the wand, hose and vacuum accept that attachment.
Dry vacuum with a soft-bristle parquet brush. Remove trapped grit from the bristles and switch off the rotating brush if the flooring manufacturer calls for it.
Use a hard-floor head or a combination head set to hard floors. On textured flooring, a suitable brush helps loosen debris. Use a crevice tool along baseboards and in accessible gaps.
A combination head set to carpet works for routine passes. Where the carpet instructions allow it, an air-driven turbo brush or compatible powered head can lift the pile and remove embedded debris.
Follow the rug manufacturer’s instructions. If they allow vacuuming, start with a non-rotating head and lower the suction if it is adjustable. Keep the head away from fringes.
Use a small upholstery nozzle on carpeted stairs and a small soft brush on wooden stairs. A crevice tool reaches into corners and along edges.
Use a squeegee nozzle designed for liquid pickup and set up the wet/dry vacuum according to its manual. The NaceCare WVB 370NX A11 kit shows the difference between a dry floor head and a wet pickup tool.
Note the vacuum model and the wand or hose reference. Compare the diameter, connection shape and locking mechanism. A powered head needs a compatible electrical supply. In classified areas, confirm which attachments are approved for the model and application.
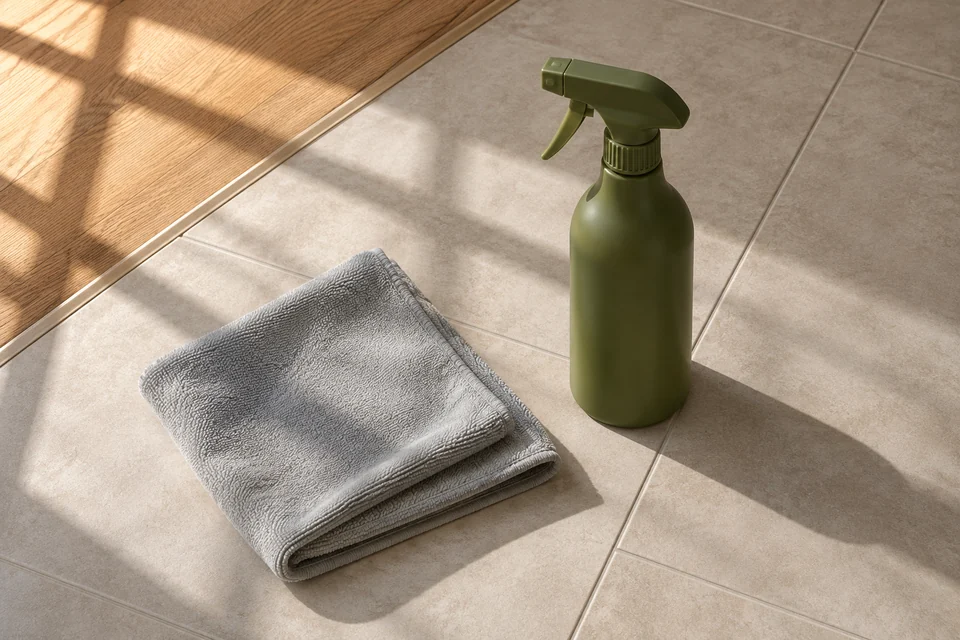
The basic routine
Vacuum grit, hair and dust before washing.
Follow the label for dilution and change the pad when it gets dirty.
Blot excess moisture and wash the microfibre as directed.
On a floor plan, identify entrances exposed to grit and salt, greasy areas, traffic lanes and quieter spaces. Record the flooring, finish, approved tool and cleaning method for each.
Inspect traffic lanes and pick up visible debris. Schedule washing based on soiling and flooring instructions. Reserve deep scrubbing, extraction or finish restoration for areas and systems that require it.
Record the product, dose, tool, date and result after drying. If an area quickly gets dirty again, check the source of the soil and how it is picked up before increasing frequency or dose.
Check dosing, pad condition and solution pickup. Compare with a test using a clean pad and the exact dose. If instructions call for it, rinse and recover the water. Inspect after drying before treating the rest.
Stop wet cleaning, blot remaining liquid and have the water intrusion and substrate checked. A cleaner removes surface deposits. Lifting needs a flooring assessment.
Stop and secure the area. Following the manual, check for debris or wear at the squeegee blades and inspect the suction system and recovery tank. Test on a small area and check after drying.
Soil left in the backing may wick back up with moisture. Product residue can also attract fresh soil. Avoid repeated wetting. Confirm the cause and the appropriate spotting or extraction method.
Remove dry debris first. If the flooring allows an auto-scrubber, check the brush and choose a cleaner approved by the machine manufacturer.
Johnny Vac auto-scrubbers Kärcher auto-scrubbersFor a single spot, test a compatible spot cleaner in a hidden area. For a full clean, check that the fibre allows extraction and choose a detergent suited to the machine.
Johnny Vac carpet products Kärcher carpet productsIdentify the floor and its existing finish before choosing a stripper. Stripping removes the old finish. Applying a new finish is a separate step. Follow the manufacturer’s instructions.
See strippers and finishesA dirty pad, too much cleaner or an incompatible product can leave a film. Start with a clean microfibre pad and follow the label for dilution and rinsing.
Check the floor and steamer instructions. Heat and moisture make steam unsuitable for some floors, including some hardwood and laminate.
Remove dry particles first. Then clean remaining marks using a method approved for your floor and let the entryway dry.
Adjust to foot traffic, pets and the season. Remove visible grit when it accumulates and wash as needed within the manufacturer’s instructions.
Your store in Joliette
Centre d’aspirateur Lanaudière · 94, rue Baby, Joliette